A repetitive theme in my life - feeding people I like. They don't even have to be friends. If there's pal potential, I'm bringing a plate of deviled eggs. Or making something ridic with seitan. Or putting the Cocktail Kit in the car.
I think this all started with
Food Not Bombs, back in the day - 5 or 6 of us piling into some tiny kitchen, making a huge pot of veggie chili out of donated materials, taking it to a park to feed the Anonymous Hungry. Did we eat more of it than they did? Probably. But still, that desire to feed whoever was around and cool, this is perhaps where it started for me.
So surely, on V day, I had a plan - we were gonna eat something a little more complex than the meh SFLA fare we'd been noshing all weekend (oh
nachos with Cheez Whiz, I'm still remembering you with disgust). I wanted some gnocchi, some sharp garlic tang, some tofu. And so we ate all three - Stuffed Tofu Parmesan, Ricotta Gnocchi, and this simple ditty I call Bruschetta Sauce - tomatoes, tons tons tons of garlic, spinach, agua. Vamanos.
Opulence, in food, for moi, often comes down to bounty - how many different vegetables are involved with the dish? The more the better, so says I. And the more disparate the preps, the more fun the consumption becomes.
So there's at least 5, 6 if you count the half-bushel of Parsley involved in this mess. Glorious veggies, will you be my Valentines?
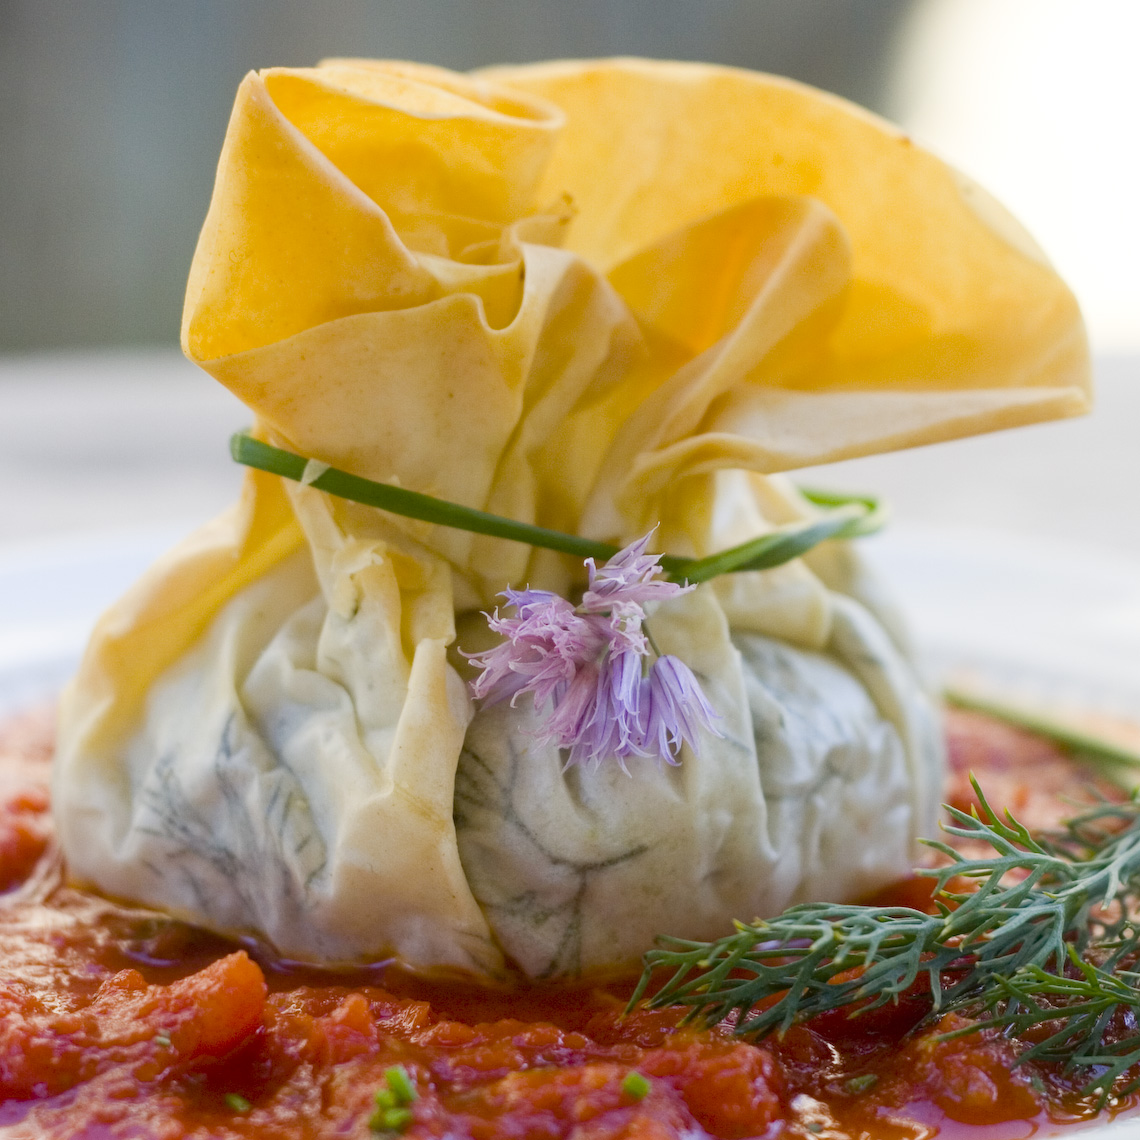
The tofu was a take off on
this recipe - the dirty-fi-cation of Soy Cake - only I added lots of parm to the breading mix, and dredged the stuffed cakes in flour, then egg first. I'd used a paring knife to slice pockets, carefully stuffing them with soy sausage, chopped, dried mushrooms, and asiago cheese, after marinating the 'Fu in a teeny bit of smoked salt, water, and sesame oil. You can bake these or fry them - frying is quicker by about 20 minutes, so that's what I did, keeping them warm in the oven while the Gnocchi came together.
This recipe is good, but basic - add herbs, truffle oil, garlic, stinky cheese, whatever you need to pump the flavors a bit. Nutmeg is optional IMHO - such a bright flavor, it pairs oddly with garlic, so I left it out this time. I had a hunk of gradually-hydrating
Tomato Powder (even though it's been kept in a sealed ziploc, the stuff is still a Mars-looking red rock at this point) that I grated a bit over each ricotta cloud before plating. Looked cool.
But let's be honest. Mostly, this meal was an excuse to make Garlic Monkey Bread.
Erik's Ma pulls out this King Arthur kit on Saturday and goes to town with a mixer and a bundt pan and out comes the best thing we ate all weekend - Pecan and Brown Sugar Monkey Bread. Awesome, gooey, sugarbomb, butterbomb, memorable. And my little cheese-obsessed brain immediately says, "Ooooooh, I've got to try this with garlic and Parm".
So we did, and it was awesome. Better than your fav garlic rolls. Better than MY fav garlic rolls. Warm, crusty, chewy, messy, good-god-I-could-eat-this-whole-thingy.
(You're probably wondering how I kept my hands off for 10 minutes to take these shots, amirite? Well let me tell you. It tried the very depths of my soul's patience. And I popped it back in the oven for 5 before noshing)
Garlic, Parsley and Parmesan Monkey Bread
1 pkg active dry yeast
1 tsp sugar
2 cups bread flour
1 cup all-purpose flour
1 tablespoon salt
2/3 cup parmesan cheese, grated
3 tablespoons freshly minced parsley
Black pepper, tons
Scallions, 4, minced (optional)
10 cloves garlic, crushed, minced
1/4 cup butter (oh ya.)
A bundt pan - mine was 2.8 liters (which I ran out and randomly purchased from
this awesome little store), but this recipe is a little flexible - a smaller pan will produce a taller loaf.
Let's do this.
In your stand mixer bowl, pour one cup warm water. Add your yeast and mix. After a minute or two, add your sugar and mix well - let stand 5 minutes.
Add salt, then while mixing, gradually add your flours. Use a scraper to push the mass into the bread hooks and let it run 5-6 minutes, until a firmish dough has formed. Let the dough stand for 15 minutes, then knead another 2-3 minutes, until the dough's "skin" is slightly shiny. Remove to an oiled bowl, cover, and let your dough rise for an hour.
Mix cheese, herbs, salt and pepper in a small bowl. Melt your butter in a small saucepan and set aside.
Preheat the oven to 400f.
Turn out your dough onto a very lightly floured board and cut into 1 1/2 inch squares using a sharp knife. I ended up with about 25 pieces. Roll them in your palm, dip into the butter, then dip into the cheese mix, rubbing the mix around the entire piece. Place in your buttered bundt pan. Continue until your dough has been used up, filling the pan evenly and flatly.
Let the dough rise another 15-20 minutes, until about doubled. Bake for 30-35 minutes, until the top of the bread is browning.
Now, I had to carefully use a spoon to separate some of the bread from the pan before turning out - the cheese stuck a teeny bit. Do so if you aren't using non stick. Then grab a large plate, put it over your pan, and flip the whole mess over, tapping the bundt pan to release.
Great googly mooglies, was this good. Dipping sauce (which for us was leftover bruschetta sauce, but standard red would be awesome as well) is essential. Enjoy!